Twelve Labs Configuration
Scope of this page: this guide covers Twelve Labs setup only. For rollout order, Day 1 recommendations, and test-bed planning, see AI Enablement Guide and Phased AI Rollout.
The Twelve Labs configuration starts with creating a new account with Twelve Labs and then setting up the webhook callback. Finally, the configuration values are copied from the Twelve Labs UI and added to the configuration of Nomad Media.
Create a Twelve Labs Account and Setup the Webhook
To get started, navigate to https://www.twelvelabs.io and signup for a new account.
Obtain TwelveLabs API credentials
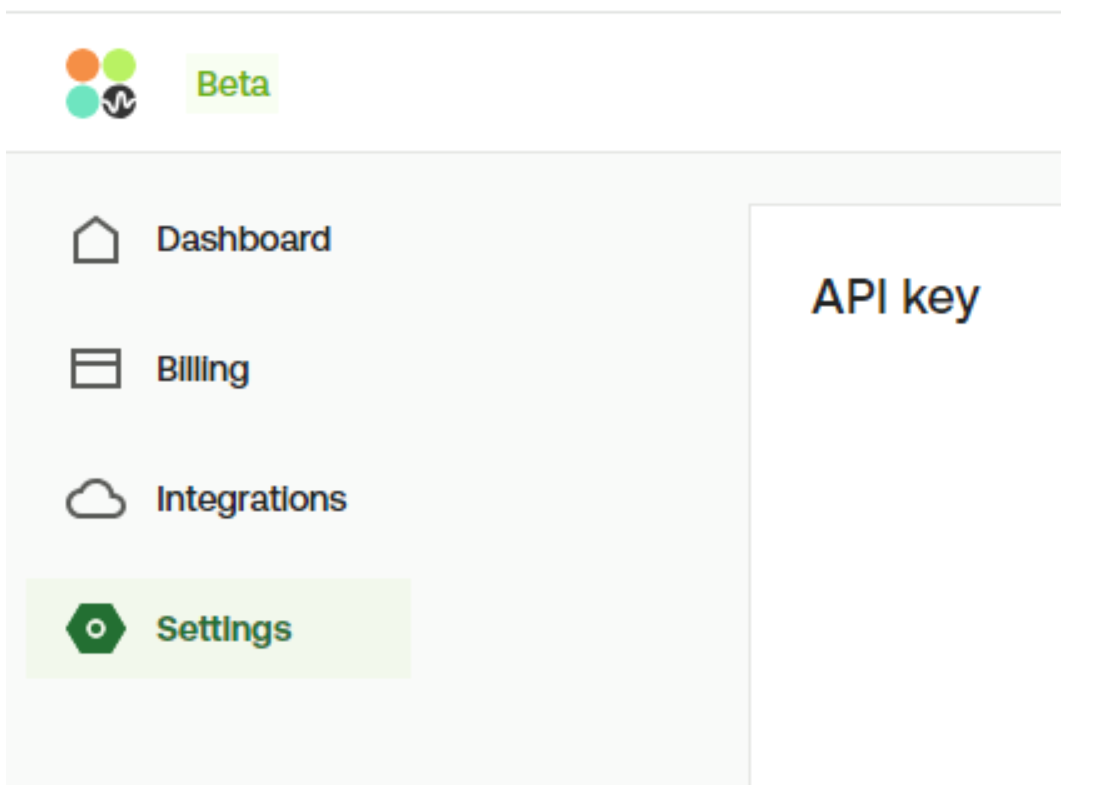
Navigate to the Dashboard https://dashboard.twelvelabs.io/home and your API Key is shown in the top left:

If you do not have an API Key, click the Settings tab in the left hand sidebar and follow the on screen instructions for generating a new key.
Setup the Webhook
- Navigate to the Settings: https://dashboard.twelvelabs.io/settings
- Scroll down to the section labeled webhooks.
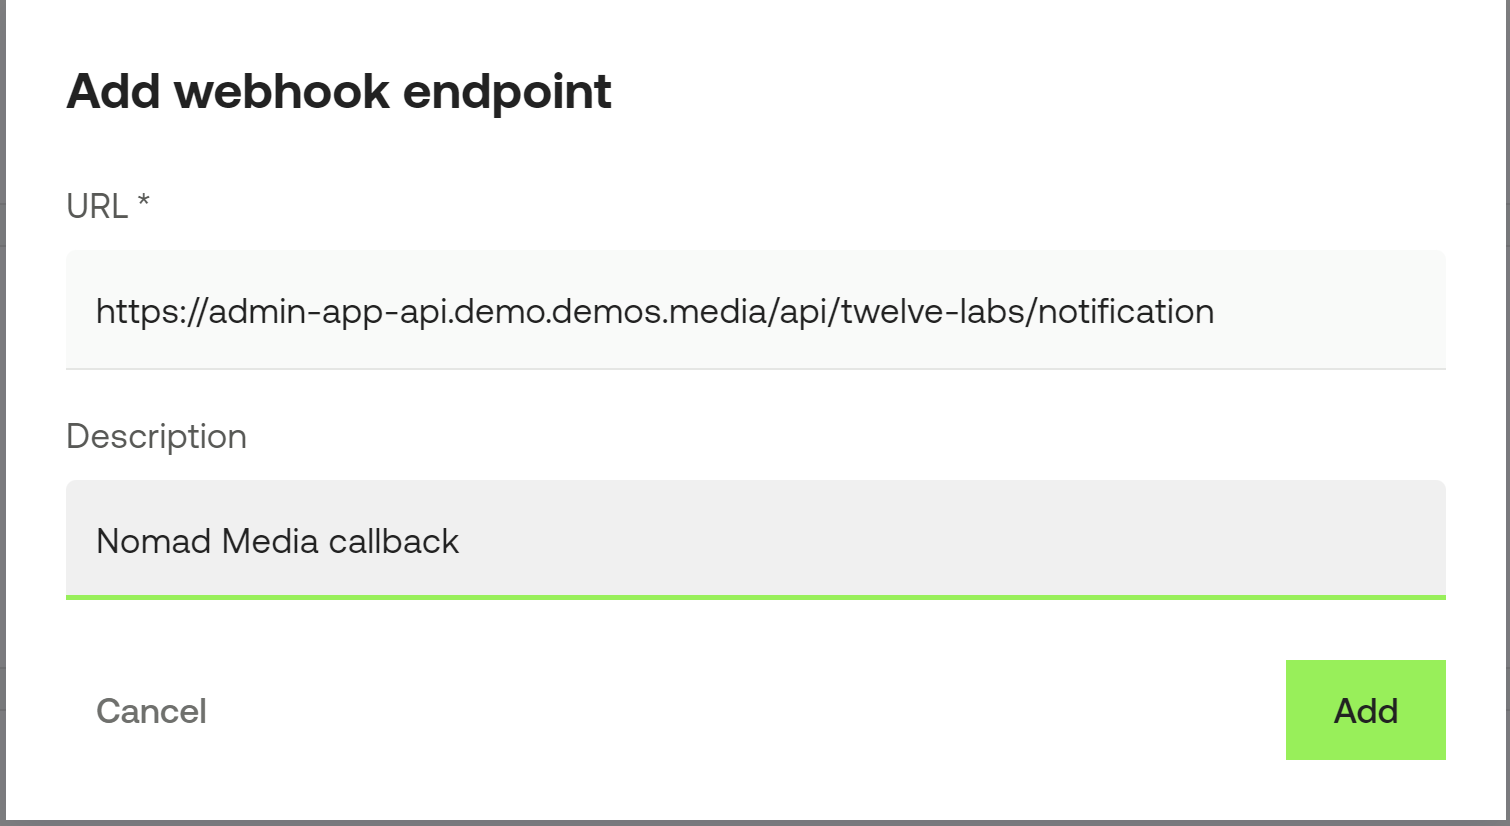
- Click the + Add Endpoint green button
- Enter the following for the URL: https://SYSTEM-ADMIN-API-URL/api/twelve-labs/notification
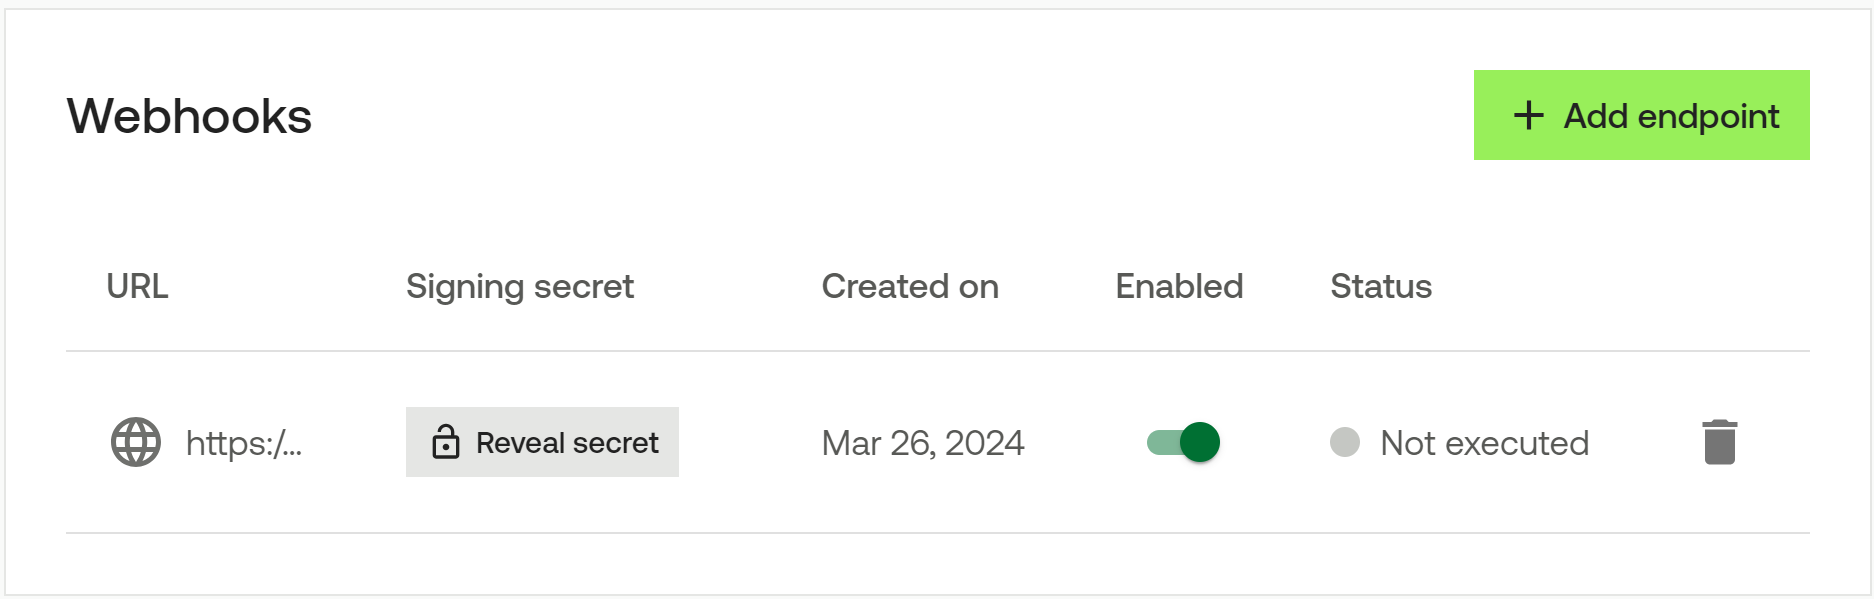
- After the webhook is saved, it will show as "Not executed" on the list screen. This will change automatically once the first callback is made successfully.
- Click the Reveal Secret button and note the secret value. It will be used in the next step.
Create the Secret in AWS Secrets Manager
- Navigate to the Secrets Manager in the AWS Console. Make sure you're in the right region.
- Click the orange Store a new secret button in the top right
- Add the 2 values to the secret:
- apiKey (use the value from the first step in the previous section: API Key)
- apiSigningSecret (use the value from the last step in the previous section: Webhook secret)
- Continue with creating the secret. The name for this secret should follow the same naming patterns as previously create secrets which is:
- nomad/PROJECT-PREFIX/twelveLabs (example: nomad/demo1/twelveLabs)
Update the Nomad Media Configuration
- Locate your Nomad Media configuration file which is located in your system bucket /configuration/{environment}.json.
- Add the TwelveLabs configuration section.
- The twelveLabsSecretKey should match the name of the AWS Secret that was added previously.
- The indexName should be the same name as the projectPrefix.
  "application/twelveLabsSettings": {
    "baseUrl": "https://api.twelvelabs.io/v1.1/",
    "twelveLabsSecretKey": "nomad/demo1/twelvelabs",
    "engineId": "marengo2.6",
    "indexName": "demo1"
}- Enable the 2 processors in the application/processors section:
  "application/processors": {
    "processorList": {

      "twelveLabsVisualAnalysis": {
    		"enabled": true
  		},
      "twelveLabsConversationAnalysis": {
    		"enabled": true
  		}

    }
  }
Additional TwelveLabs API DocumentationAPI Reference:
https://docs.twelvelabs.io/reference/api-reference
Guides:
https://docs.twelvelabs.io/docs/introduction
Recipes:
https://docs.twelvelabs.io/recipes
For security reasons, your API key at TwelveLabs automatically expires every 90 days. When your key has expired, you must generate a new one to continue using the API.The new api key should be added in your Secrets Manager in the AWS Console, please consult your administer or a Nomad Media engineer if you require assistance.